Easy Kid-Designed DIY Pumpkin Shirts for Halloween

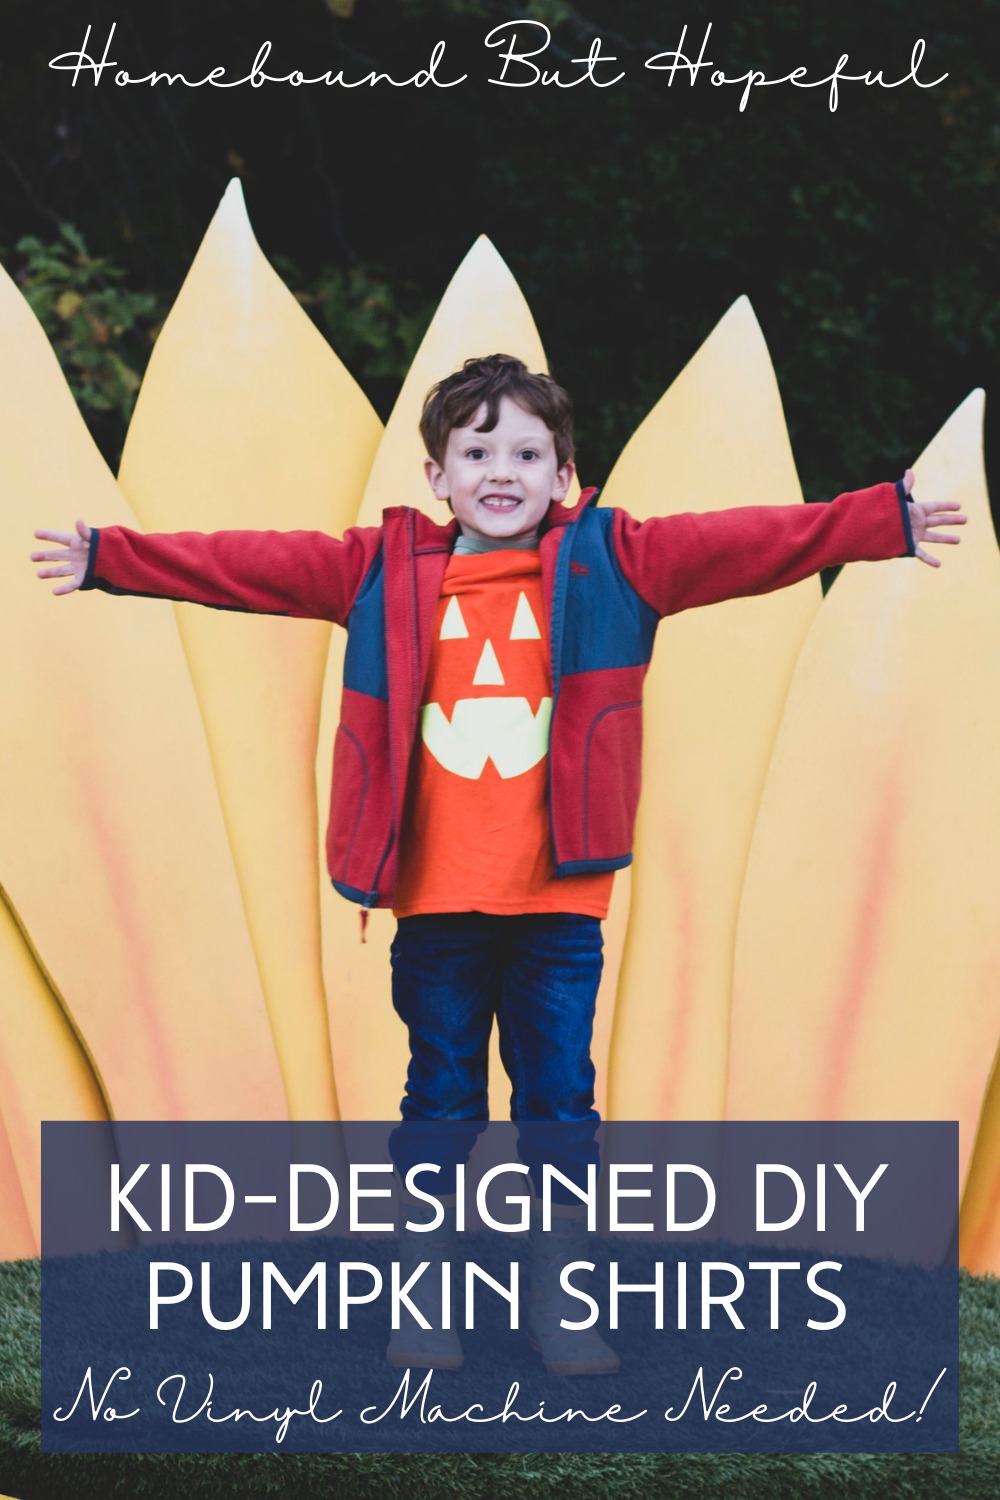
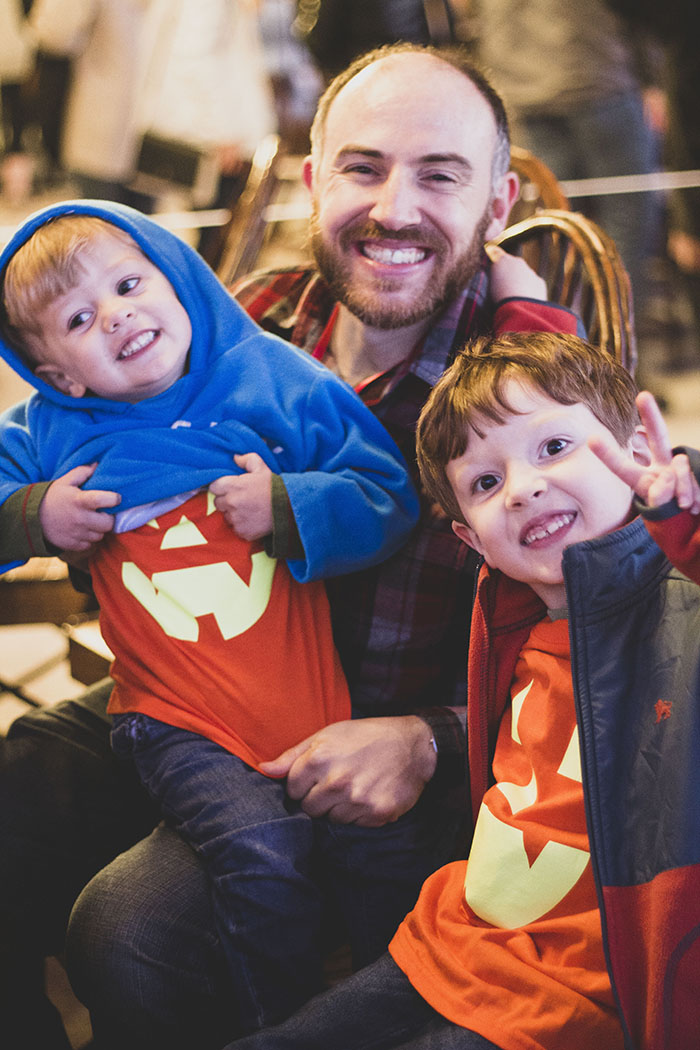
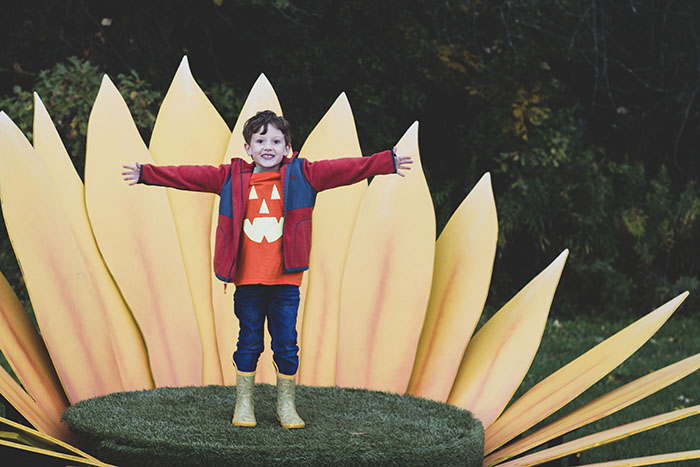
Did you all get a peek at the super cute jack-o-lantern t-shirts my kiddos were wearing on our recent farm outing? I’m pretty proud to say I made them myself! (Full confession, I made them a few hours before we went to the farm, because procrastination is how I roll.) They were such a fun, simple project that I wanted to share them with everyone. Keep reading to see exactly how I made our kid-designed DIY pumpkin shirts this year!
Disclosure: This post contains affiliate links. If you make a purchase through a link in this post, I may earn a small commission at no additional cost to you.
MAKING EASY KID-DESIGNED DIY PUMPKIN SHIRTS
I realized a few days before our Halloween festivities were scheduled to begin that I only had a store-bought jack-o-lantern t-shirt for my 2 year old. My 6 year old was definitely going to be feeling very left out of the fun if he didn’t have one to wear to the pumpkin patches. Around that time, I also realized I’d waited too long to buy one- everywhere I checked was very low on Halloween apparel, so I couldn’t find his size. I don’t own a vinyl cutting machine (yet!), but I figured this was a project I could tackle on my own. After a quick trip to the craft store, I was ready to make our DIY pumpkin shirts. Here’s how I did it!
Supplies:
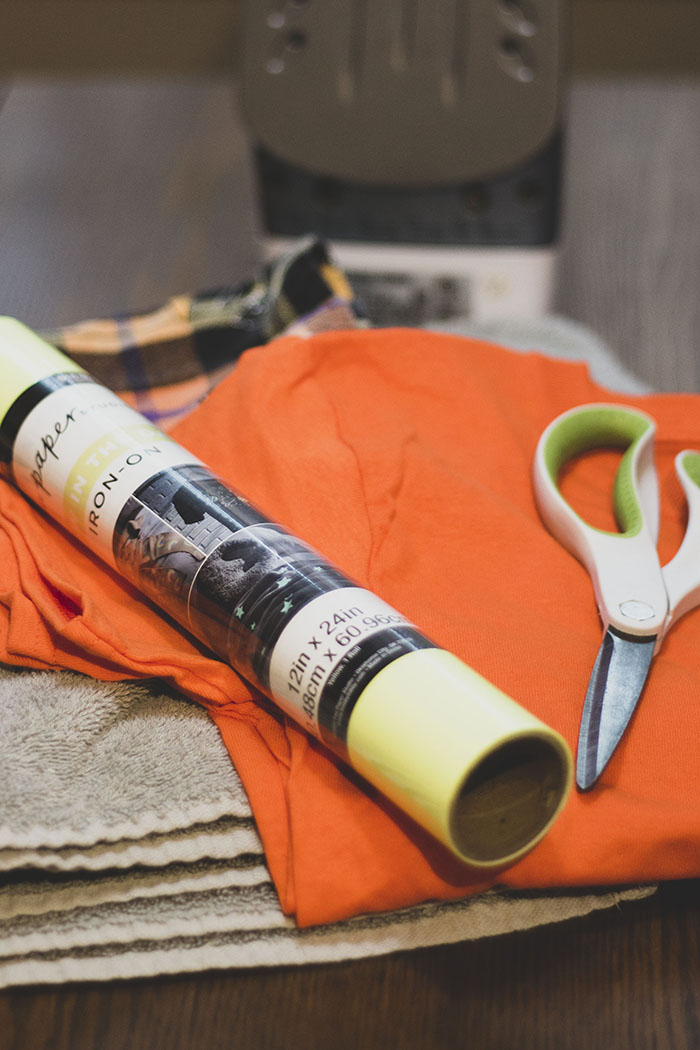
- Orange t-shirt.
- Iron-on craft vinyl.
- I opted for glow-in-the-dark, because I knew my kids would get a kick out of it. There are tons of great options available.
- My boys chose yellow, but I think black or even a brown would also work quite well. Gold glitter would be very cute too!
- Scissors.
- Iron.
- Rag or towel to protect your iron.
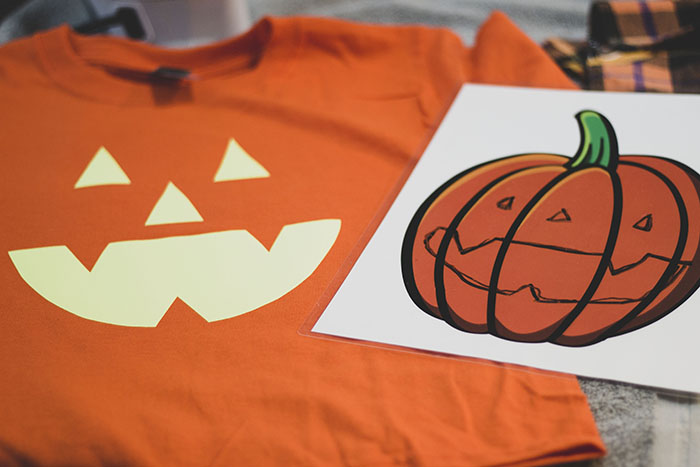
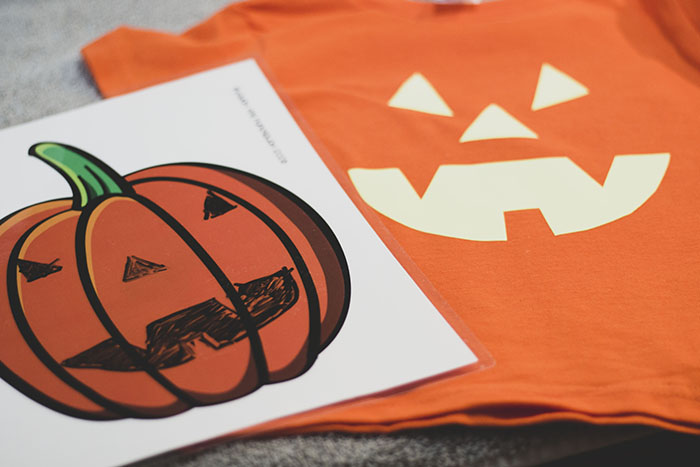
- Pumpkin printable.
- Grab a laminating sheet and some dry or wet erase markers, if you want to be able to do all sorts of other fun stuff with your pumpkin after the shirts are done.
- A regular old pencil or crayon, if you’re just using the pumpkin page once.
>>> Want to keep re-using that adorable pumpkin mat? I’ve got you covered with 5 great ideas! <<<
How To:
- Technically, you should probably wash and dry your t-shirts first. I didn’t (see: ‘procrastination’ above), but you’re probably supposed to.
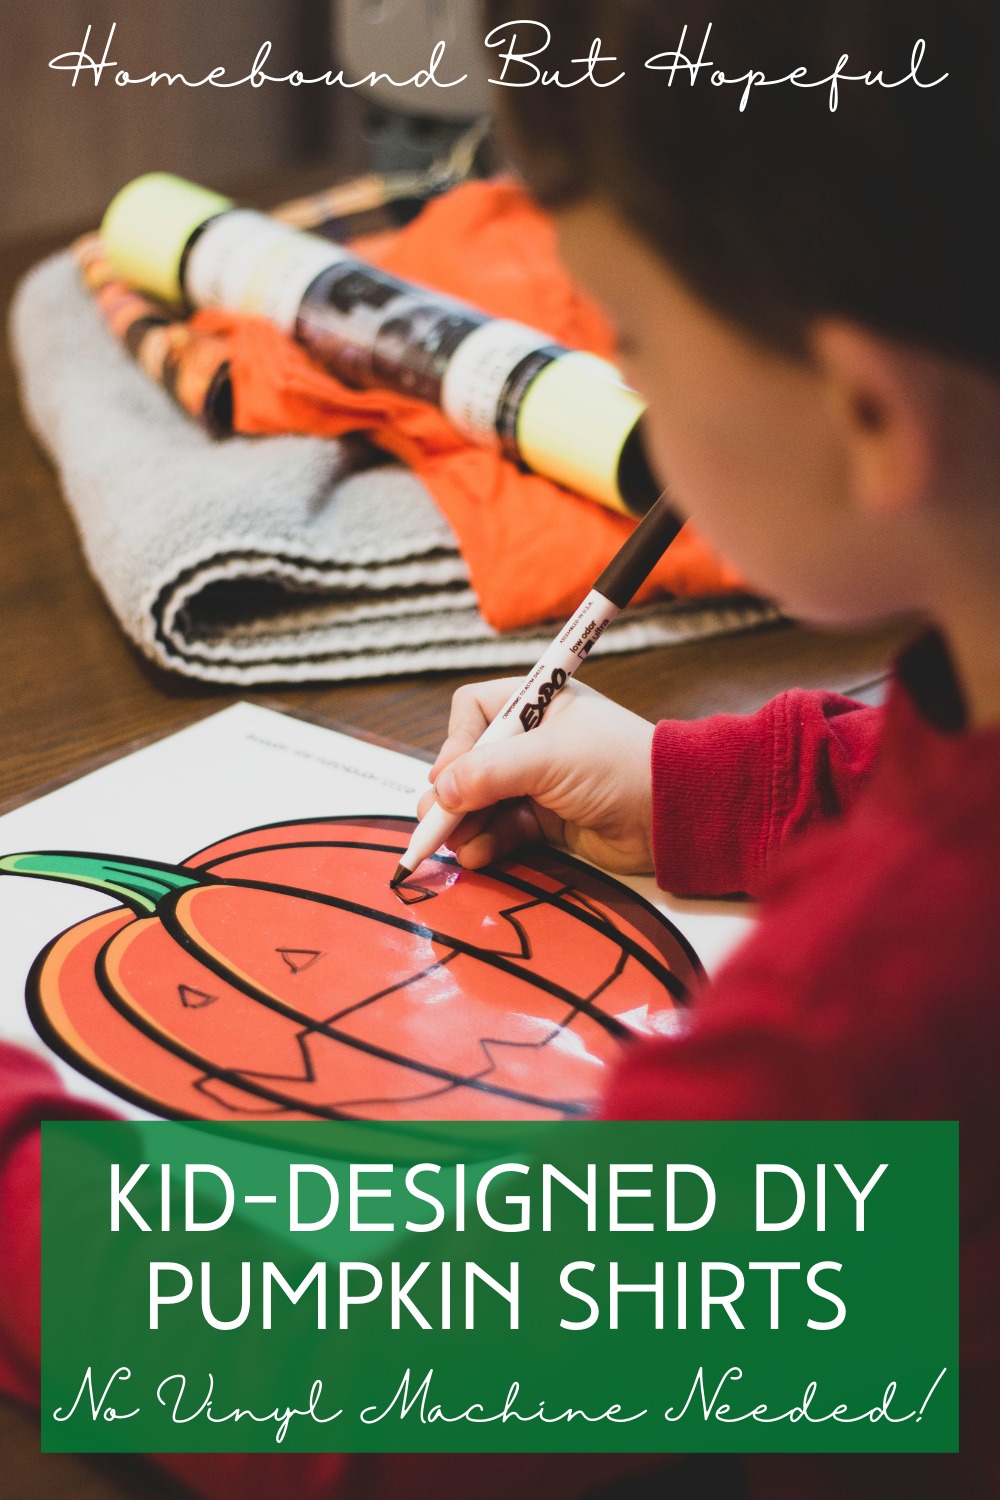
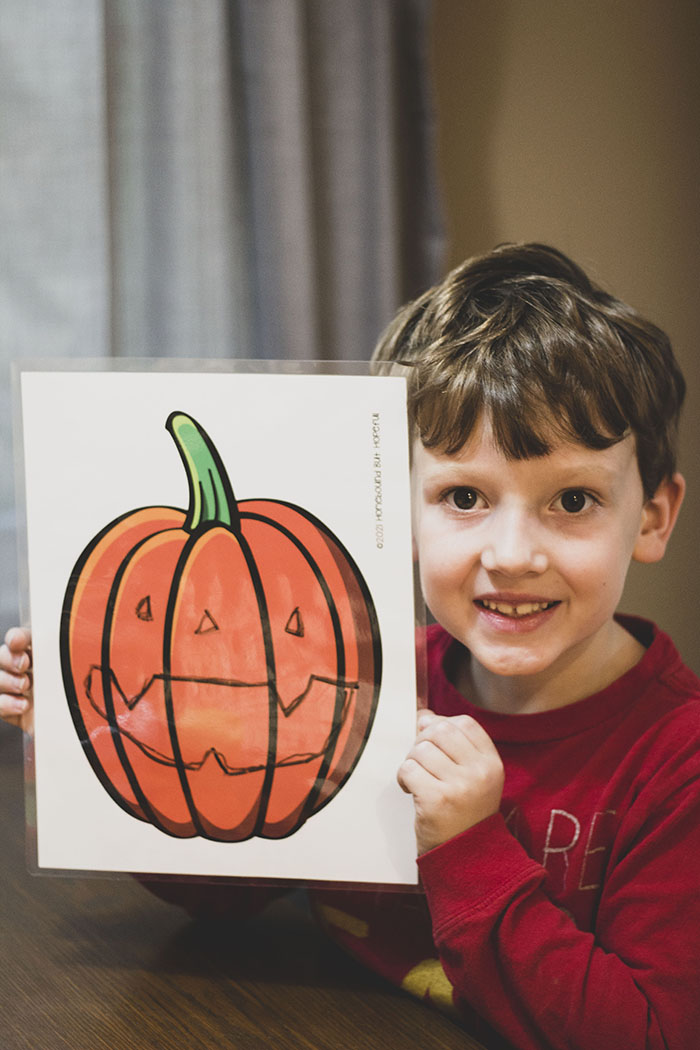
- First, give your kiddos the pumpkin page and a writing instrument. Let them get creative and plan out exactly what they would like the jack-o-lantern face on their shirt to look like!
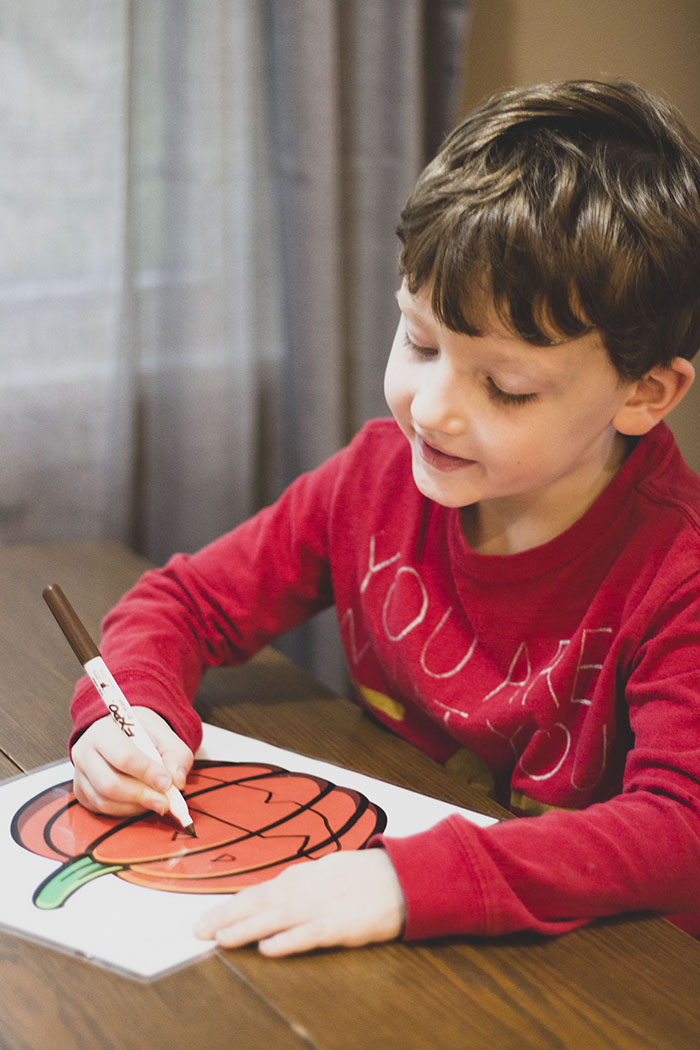
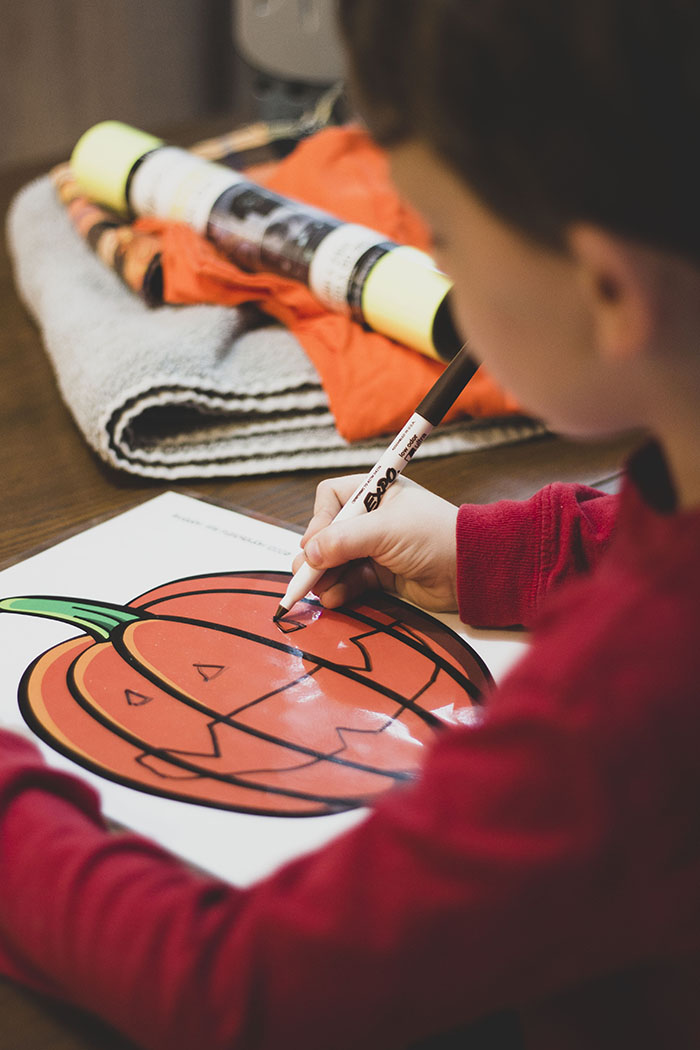
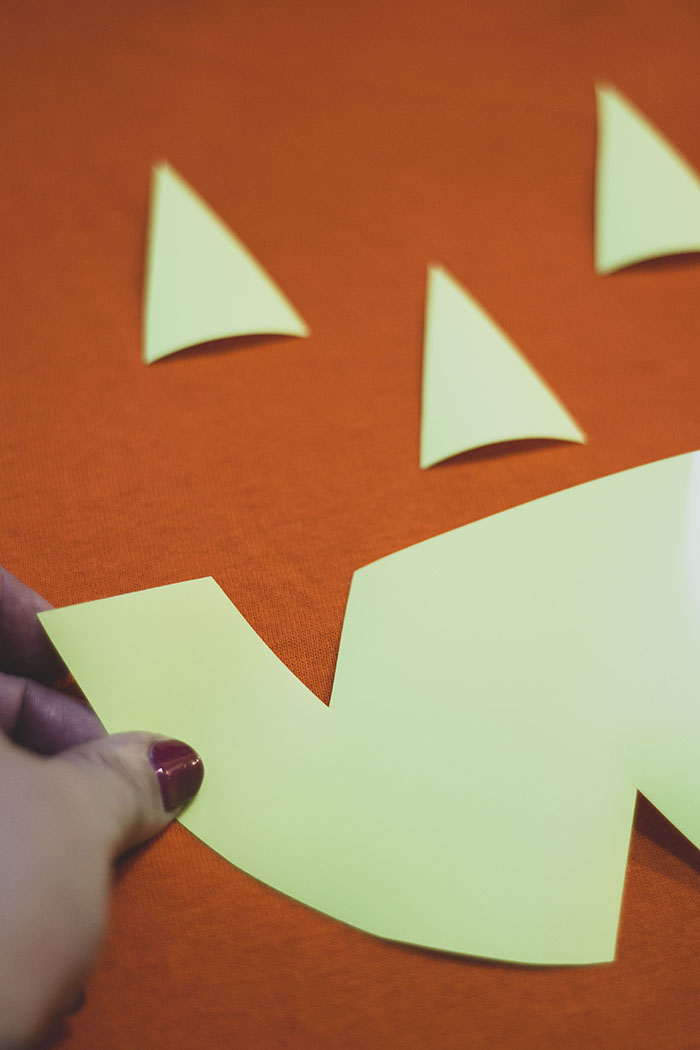
- Then we cut out the shapes. My youngest 2 aren’t great with scissors yet, so I did the cutting for them. Older kiddos might be able to do this on their own. When their face was drawn out, I just cut out the shapes from the vinyl. (Yes, I fully recognize I got very lucky when my boys mainly chose triangles!)
- I pretty much just eyeballed all of it, size wise. You could could do a trial run sketched out on paper first if you are nervous about.

- I pretty much just eyeballed all of it, size wise. You could could do a trial run sketched out on paper first if you are nervous about.
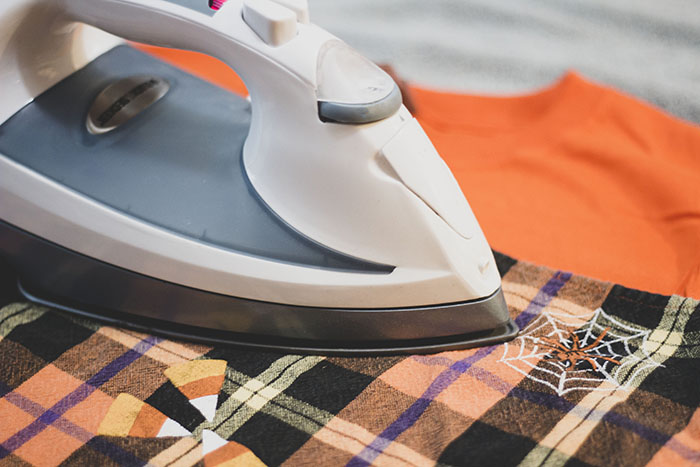
- Next, follow the directions for the vinyl you chose and iron it on your shirt.
- Finally, put your adorable new shirts on, and get out there for some Halloween fun!
WHERE WOULD YOU WEAR YOUR DIY PUMPKIN SHIRTS THIS FALL?