Rainbow Weaving- Easy St. Patrick’s Day Craft For Kids
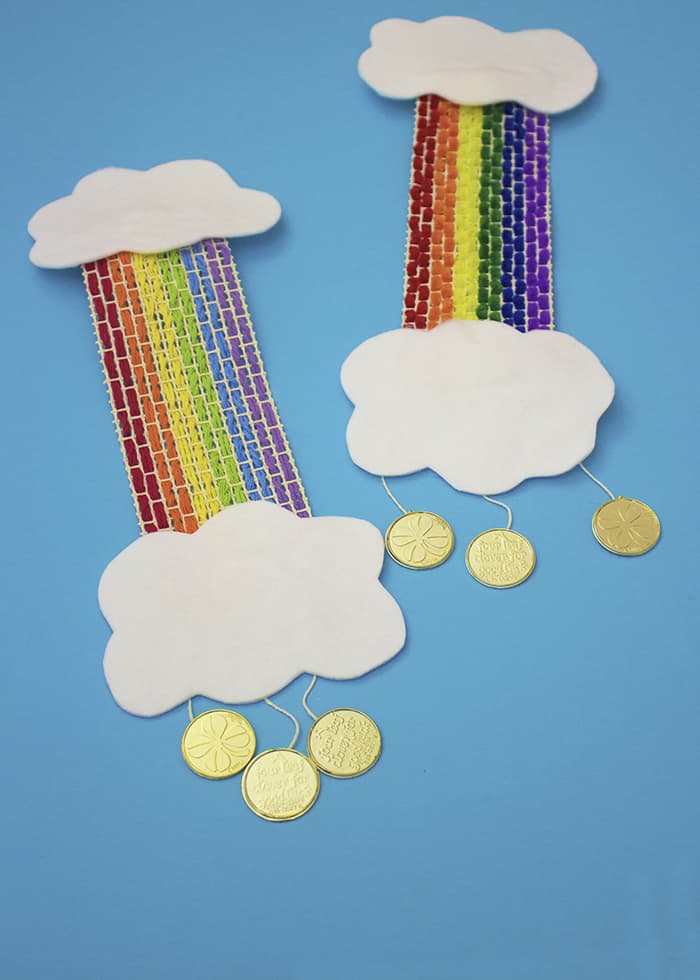
There’s been a lot of talk about leprechauns and shamrocks around our home lately. Whenever we think of St. Patrick’s Day, in addition to those two classic symbols, rainbows and gold coins also spring to mind. I created a rainbow weaving craft that is perfect for helping your children decorate for the March holiday. In addition to being cute and easy to assemble, it also provides great fine motor practice for older children.
I have to apologize for all the radio silence lately folks! We live in upstate New York, and if you haven’t heard, we were hit with massive windstorms last week. We spent several days without power, and then some additional time without wi-fi (oh, the humanity!). Thankfully, now we’re finally headed back towards normal life, and bracing for an incoming snow storm. Never a dull moment! #thebigone and I hope the leprechauns can make it through the snow to visit us later this week. I think our easy rainbow weaving project will be the perfect festive detail to lure them through even the coldest, windiest upstate NY March day!
Rainbow Weaving
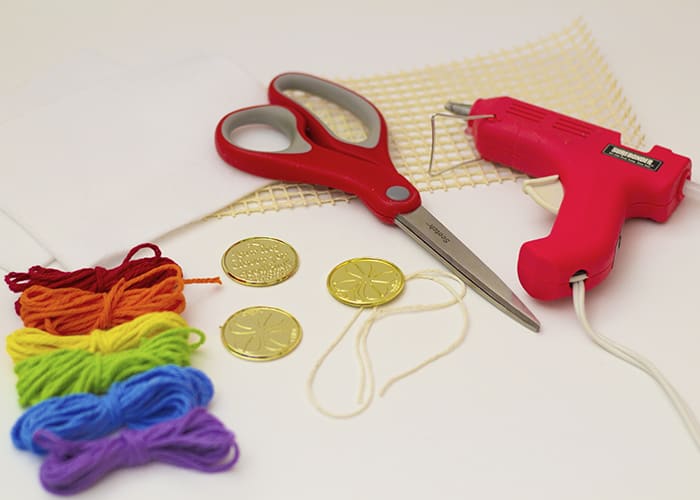
Supplies:
- Base material.
- We used latch hook canvas, but burlap or plastic canvas could also work well. Generally, you will want something with a larger weave for younger children. Older kids will be better able to handle smaller weaves.
- Colors.
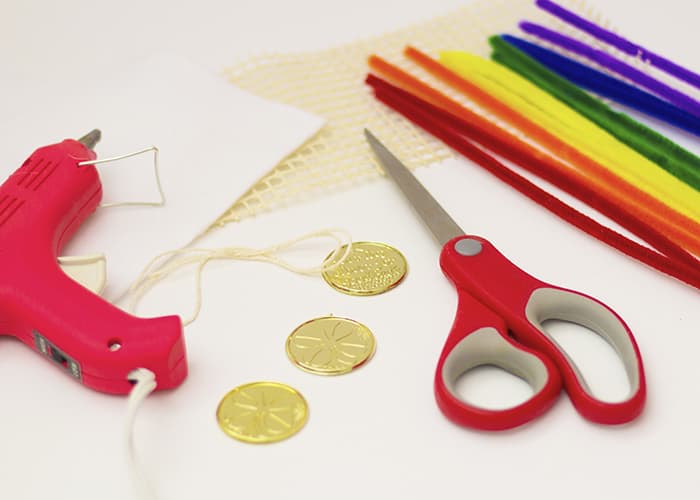
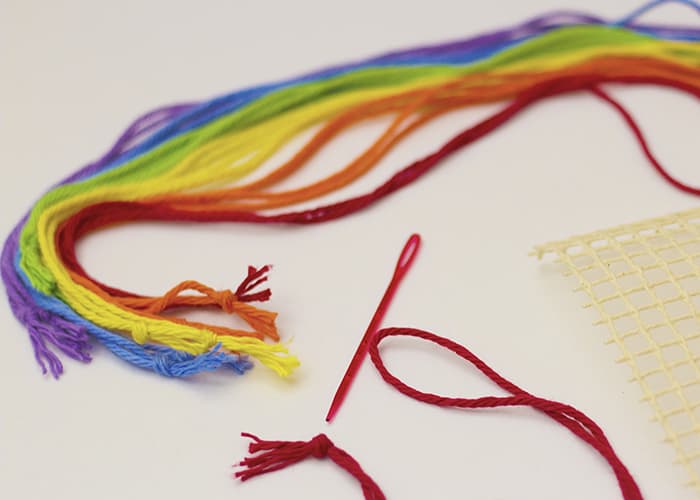
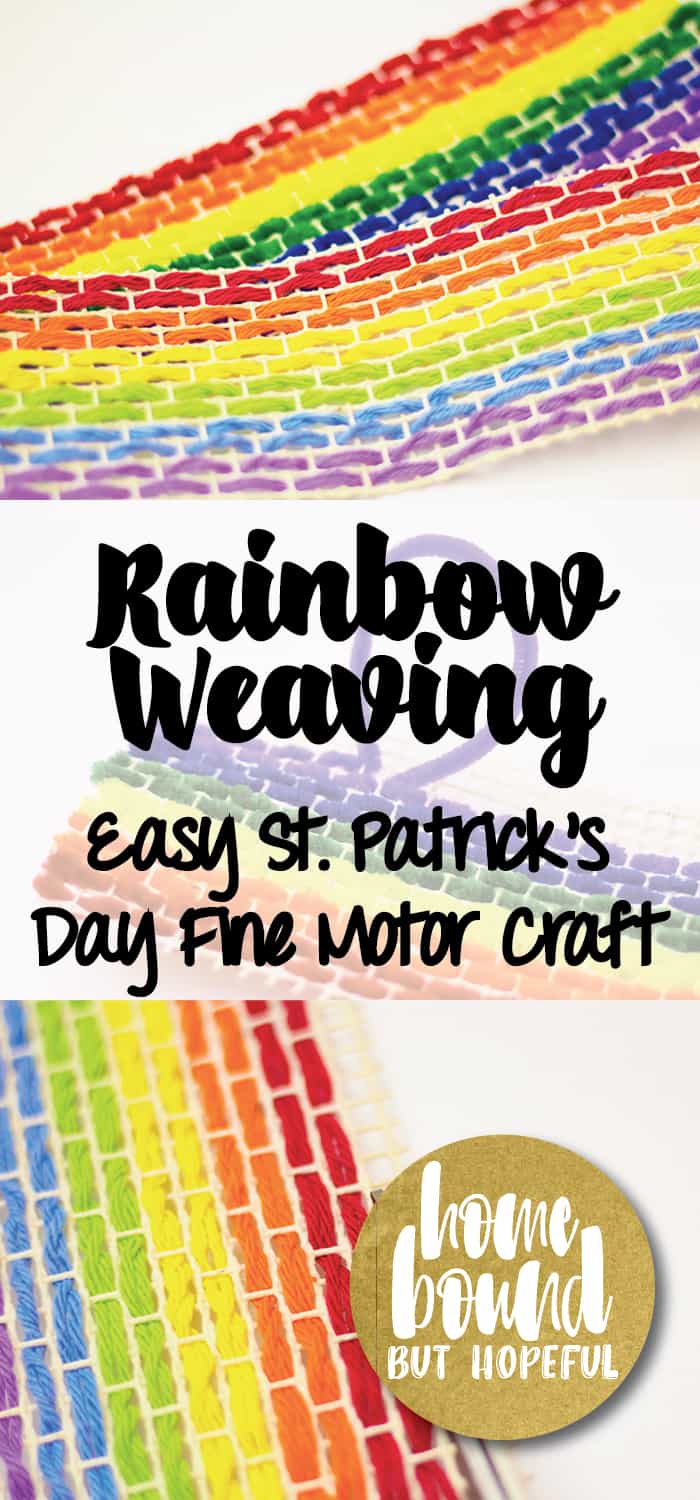
- We did one version using yarn, and another using thin chenille stems. We chose shades of red, orange, yellow, green, and blue to represent a rainbow. Thin ribbons, raffia, or colored baker’s twine would also be good options.
- Yarn needles or masking tape.
- We used some wide-eyed, thick, blunt plastic needles to thread our yarn. Alternatively, you could wrap the end of the yarn with masking tape to stiffen the edge- similar to the plastic coating at the end of a shoelace.
- Scissors.
- White felt.
- Paper or craft foam would also work well.
- Craft glue or hot glue.
- Novelty gold coins.
- Circles cut from gold or yellow paper or felt would also work well.
- String.
How To
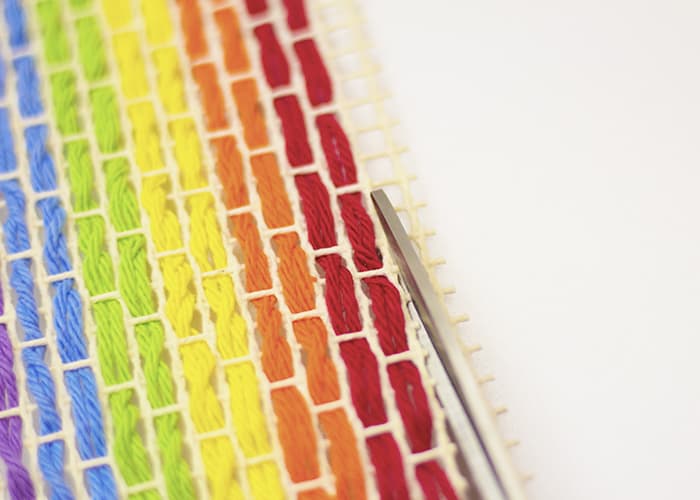
- Cut a portion of base material in a rectangular shape. Size is flexible- your child might want to add more than 1 row of each color, for instance, so see what their vision is prior to cutting. If you are using chenille stems, the length should be approximately the same length as the stems. You can always trim the base carefully after weaving, but too much fabric will be difficult for the child to manipulate.
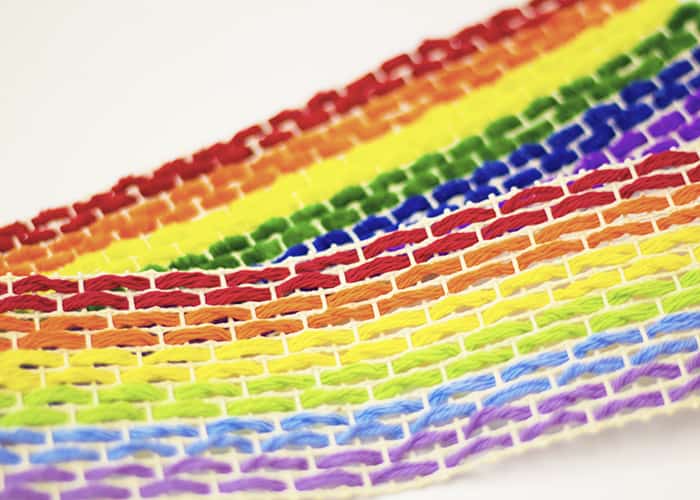
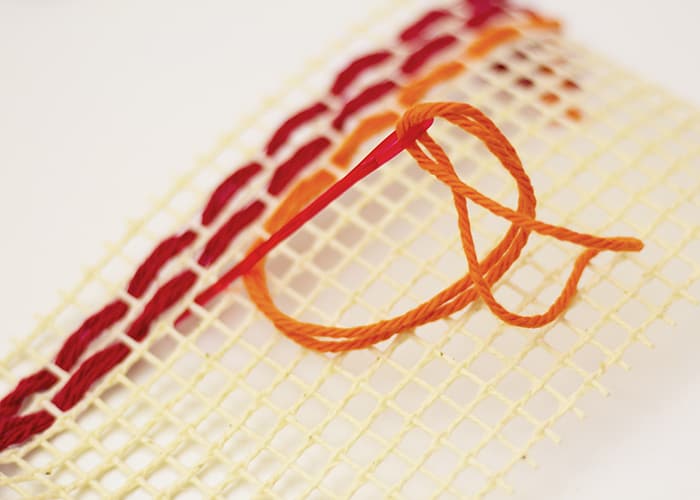
- If you are using yarn, cut lengths of each color. Thread your first color (red) onto the plastic needle. Children can start weaving in a classic over-under manner. Add a knot at the end of the yarn if the child is concerned about pulling it all the way out as they weave.
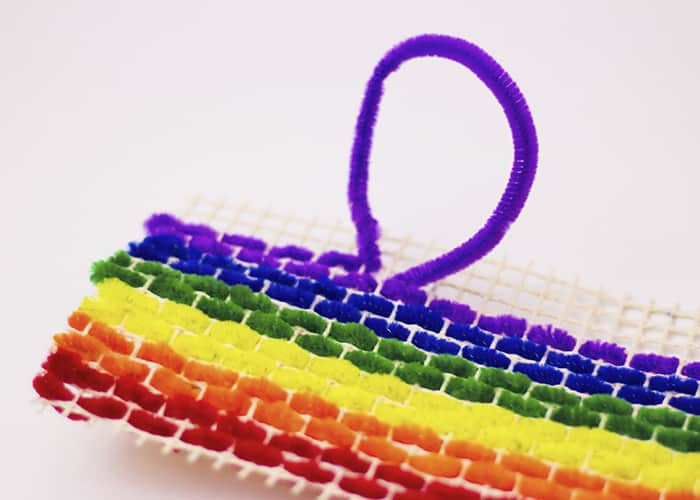
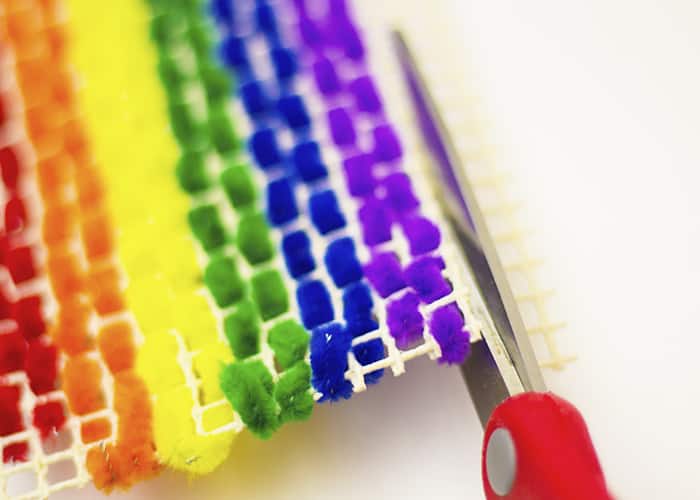
- The chenille stems are used in essentially the same manner. The only difference is you do not cut them, and do not need a needle.
- The chenille stems are used in essentially the same manner. The only difference is you do not cut them, and do not need a needle.
- Repeat step 2 for each color of your rainbow. Kids can experiment with alternative weaving patterns if they wish- over 2, under 1 for example. This gives them the opportunity to add some personal flair to their projects. Continue until your rainbow is complete.
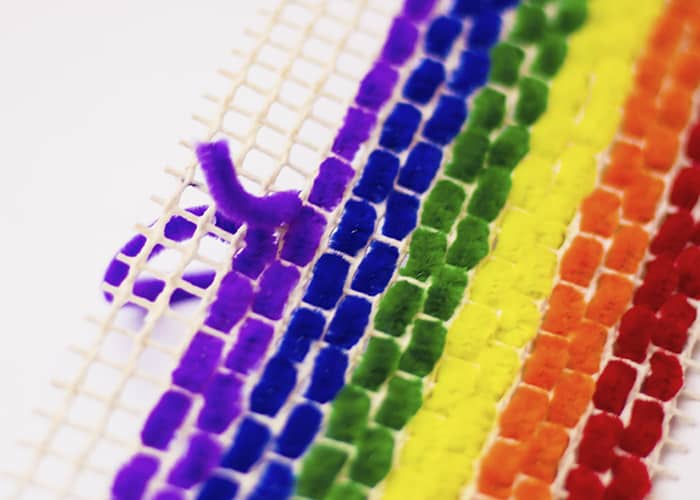
- Trim excess base material if needed. (Adults may want to take care of this step- no one wants to see their rainbow fall apart after 1 small snip in the wrong spot!)
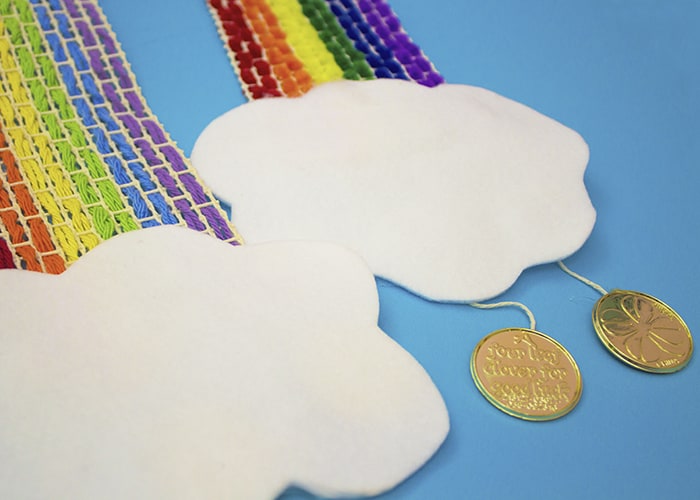
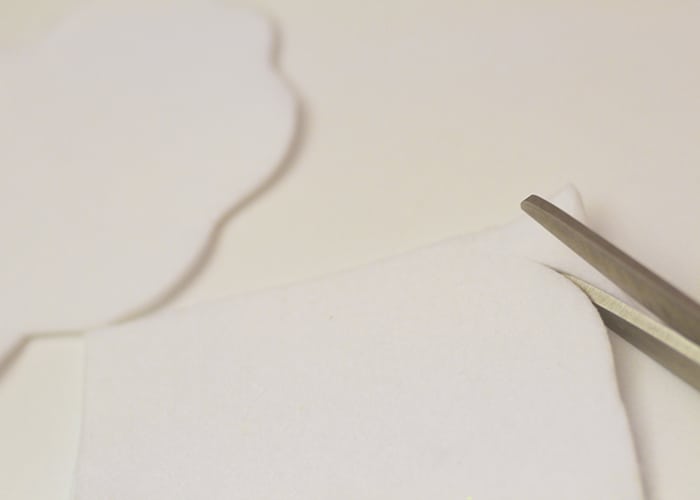
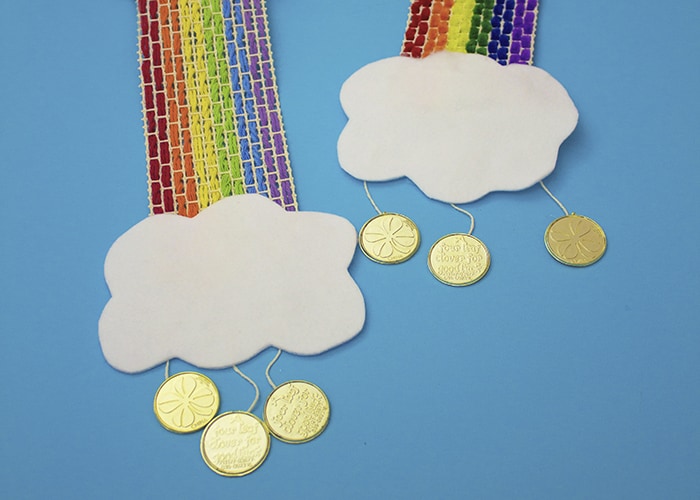
- Cut 2 clouds from your white material. (Felt, foam, etc.) Use the craft glue to attach them to each end of the rainbow. Ideally, try to catch the end of each length of yarn in the glue during this step, to help keep everything together.
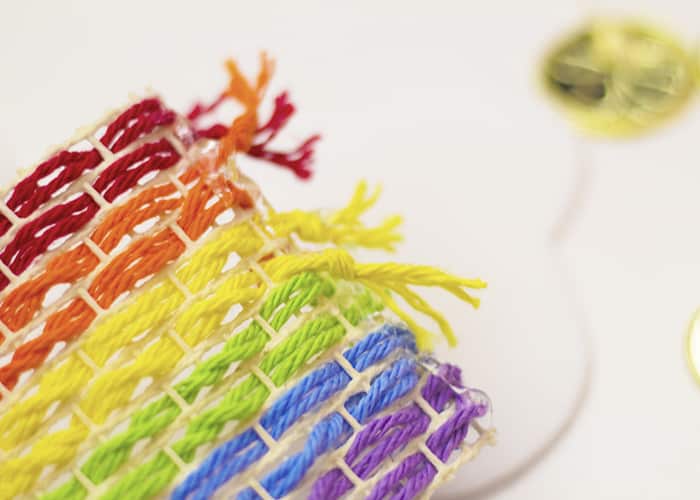
- Cut some lengths of string to hang from one cloud. Use glue to attach coins to the string. Glue the strings to the bottom back of one cloud. When the project is hung vertically, the gold coins will be falling from the rainbow.

- Finally, help your child hang their rainbow weaving creation as they anticipate the arrival of St. Patrick’s Day.
Do your kids look forward to St. Patrick’s Day? What is their favorite thing about the holiday? Let me know in the comments below!
Niki @ Toot's Mom is Tired
I love this! This is such a cute craft!
Kate
Thanks so much, Niki!
Savannah (@HowHesRaised)
What a FUN activity!!! Seriously, a great way to tap into the creative side of kiddos, while also enhancing their fine motor activities. This is definitely one that I’m pinning for future use! <3
Kate
Thank you so much Savannah! We had a lot of fun with it!